

Are you considering installing a water storage system in your home? This is an excellent decision, as it not only provides an alternative water source but also supports your commitment to environmental sustainability. To achieve effective water storage, it is imperative to install the entire system correctly, from the tank to the connecting pipes. But how can you guarantee this?
The following guide will outline the essential steps for water tank installation, helping you achieve a successful and efficient system.
1. Buy A Water Tank
A water tank is essential for your project. You may want to check the Water Tank Factory or your preferred vendor and purchase your tank. You’ll find water tanks of all sizes and shapes during the purchase.
But how will you know which one to buy? It all depends on your needs. Ask yourself how much water you plan to store in the tank and what surface area of land is available to accommodate your tank. These two questions should help you pick your tank.
Make sure your chosen tank’s capacity is slightly more than the volume of water you plan to collect and store. Also, pick a size that’ll comfortably fit in your compound.
2. Find An Ideal Location
You probably have a large compound. Now, where will you place your tank?
The ideal location is somewhere out of traffic’s way. It also shouldn’t interfere with the other uses of your compound. The size of the tank is also an important consideration. Find a location where your chosen tank will fit, even after you add an extra surface area to the tank’s surface area for stability purposes.
Lastly, place the tank where you can easily access it to use the stored water. It’s also best if it’s as near as possible to where you’ll use the stored water. If it’s for gardening, place it near your garden.
3. Prepare The Base
The base is where your water tank will sit. You want to make sure it’s strong enough to hold the tank’s weight, including when it’s full.
Start preparing the base by clearing your identified location of debris and shrubs. Level and compact the area to prevent future settlement due to the tank’s weight.
After compaction, lay two to three inches of crushed stone. The stone will break the contact between the soil and the tank, aiding drainage. Verify that the top surface of the gravel is flat to prevent the water tank from bending on one side, which can cause accidents, especially when it’s full.
It would be helpful to build a concrete base, especially if you have a large-sized tank. Prepare a strong concrete mix, preferably a class 20, and pour it over the crushed stone. Make sure the concrete base is approximately three inches thick. Have the concrete base area bigger than your tank’s for safety purposes. This will ensure the proper transfer of loads to the ground.
4. Attach The Necessary Piping
With the tank ready and as the base cures, attach all the necessary piping to your tank.
You need to access the water in your tank, which guides the first accessory to acquire. You’ll need a tap, which you’ll install in the lower part of your tank. Make sure you fix it properly, being on the lookout for leakage. Apply a sealant around the entry point of your tap into the tank.
The other aspect you need to cater for is overflow. There’s a probability of the water in your water tank exceeding its capacity. The result is spillage that leads to water wastage. Counter this by placing a barrel next to your water tank. Connect the two using a pipe. In case of overflow, the excess water will flow from the water tank and into the barrel. Install the pipe at the top half of the tank and barrel, near the top, as much as possible.
In addition to the tank piping, you need to lay out the necessary pipes, especially if you opt for an underground water storage system in addition to your ground-level tank. Connect the two with the appropriate pipes, taking into account pipe sizing and gradient for efficient water flow. More detailed information on determining the correct pipe sizing and gradient can be found by consulting professional resources or seeking expert advice.
5. Place And Safeguard Your Tank
With all the pipes and piping accessories ready, place your tank on its base, ready for use. It is highly recommended to test the system to ensure water flows properly to where you need it. If there’s any issue, like low water pressure, rectify it by using the correct pipe size.
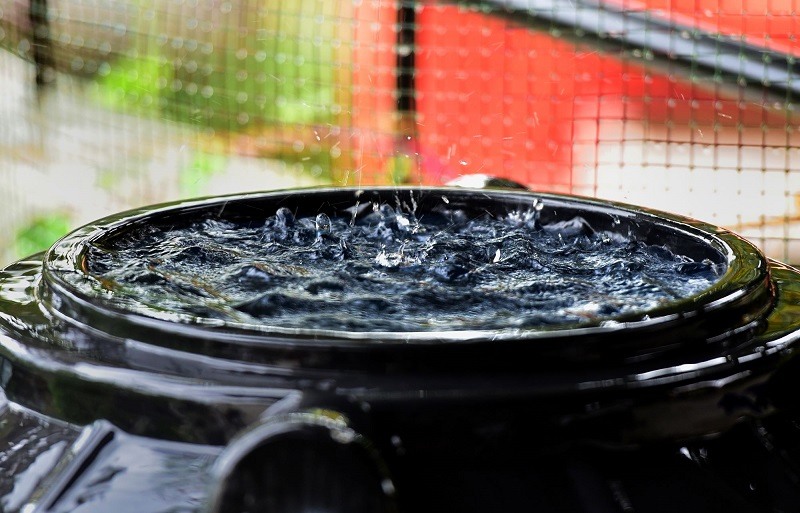
Regarding safeguarding, you want to protect the water you’re storing, especially if you plan on using it for household purposes, like cooking and drinking. Protect the water by placing a mesh fabric at the top of the tank. This will prevent the entry of debris, rodents, and leaves into the water.
As a precaution, treat or purify the water if you plan to drink it to prevent illnesses.
Conclusion
Correctly installing your water tank is essential; it’ll ensure you successfully store water to meet your needs. This guide has detailed a simple step-by-step process to assist you with the installation. Be sure to implement these steps for an easy and successful water tank installation process. With proper installation and maintenance, your water storage system will serve you well for years to come.